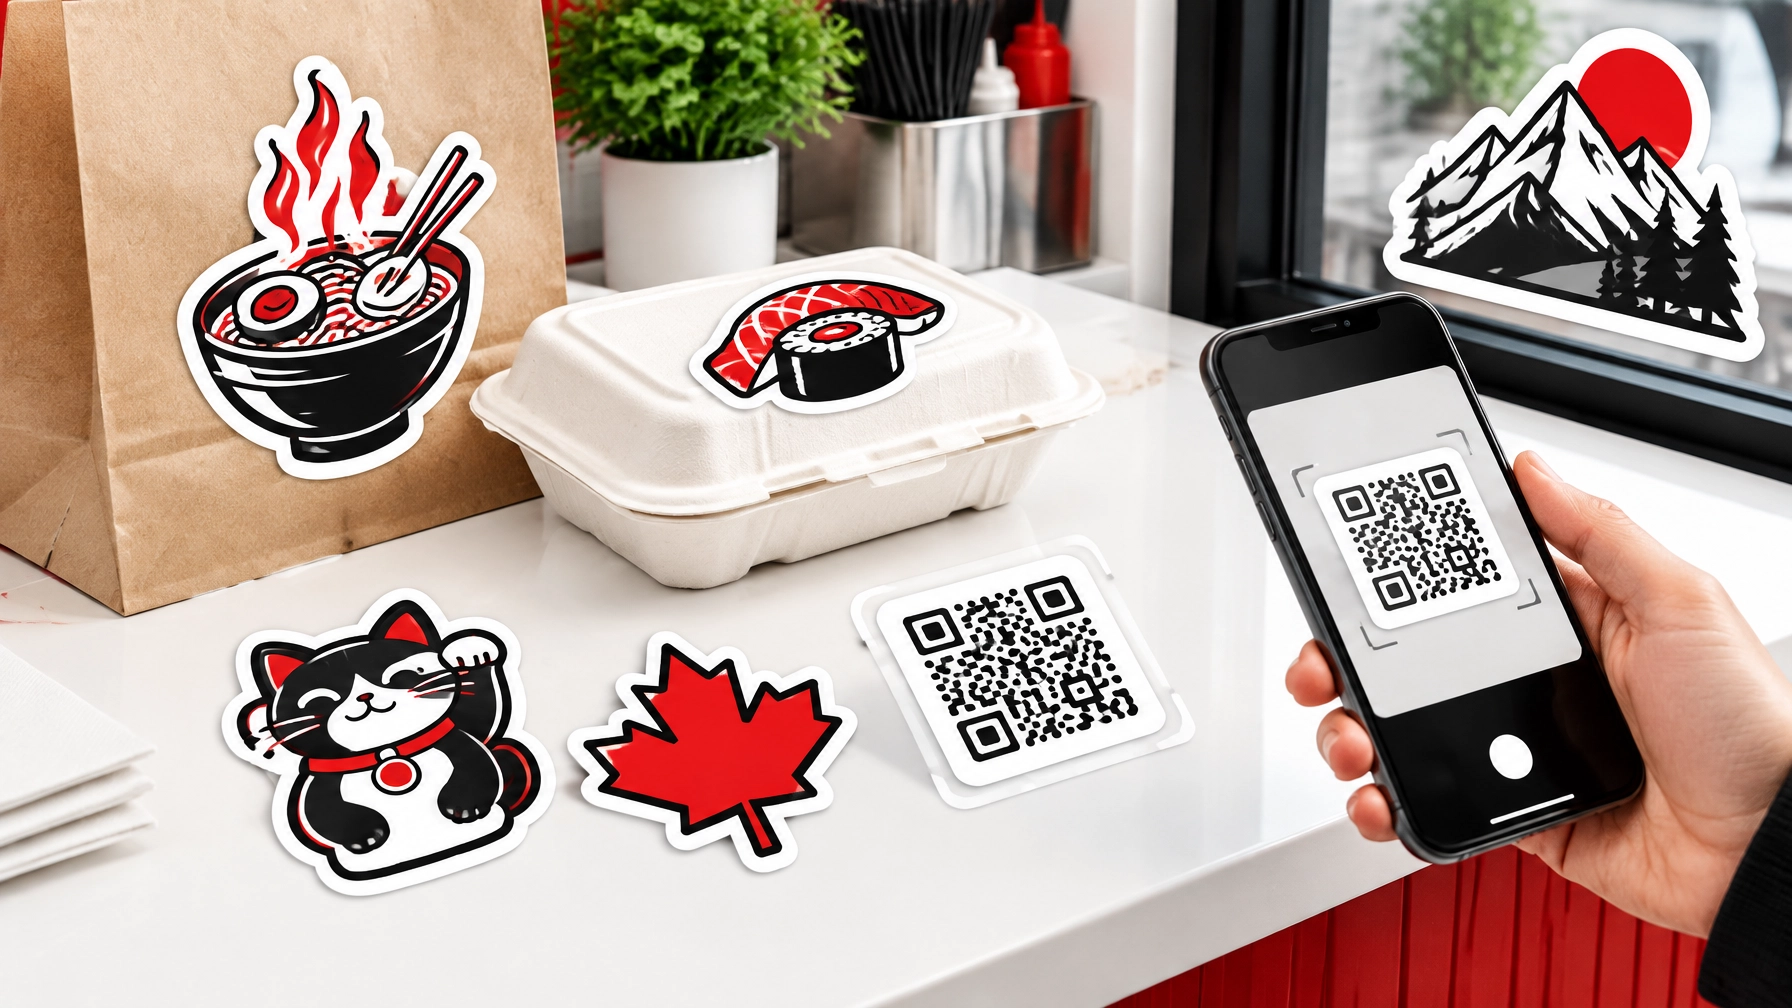
A QR code sticker can connect a customer to your menu, booking page, service details, product information or social media. But putting a code on a sticker is only the first step. The code also needs enough space, strong contrast and a placement that makes it easy to scan.
Here’s a practical guide for planning QR code stickers for a restaurant, salon, gym, trade business or promotional campaign. The recommendations below are starting points, not guarantees: test the finished sticker with the phones and at the distance your customers will actually use.
Start with a code that’s easy to read
A QR code needs more than a black-and-white pattern. Give the scanner a clean, high-contrast symbol with a clear margin around it.
- Use a dark code on a light background. Black on white is a dependable choice. Avoid pale colours, busy artwork or low-contrast combinations behind the code.
- Keep a quiet zone. Leave a plain, uninterrupted margin around the QR code at least four small squares, or “modules”, wide. Don’t put text, borders, logos or decorative elements in that space.
- Keep the code intact. Don’t crop it, stretch it or place artwork over its modules. If you want your logo on the sticker, keep it outside the code and its quiet zone.
- Make the destination worthwhile. Link to a mobile-friendly page that loads and delivers what the customer expects. Check the destination before artwork is approved.
For a useful overview of QR code colour and quality considerations, see the GS1 2D Barcode Colour & Quality Guide.
How large should a QR code sticker be?
There is no single sticker size that works for every QR code. A simple code scanned at close range has different needs from a detailed code viewed across a room. The amount of information encoded, lighting, phone camera and viewing angle can all affect scanning.
As a practical planning rule, make the QR code itself larger as the intended scanning distance increases. The chart below gives starting points for common settings. It is guidance, not a promise of scan performance.
| Sticker size | Typical use | Practical starting point |
|---|---|---|
| 1" × 1" | Small packaging or personal items | Best for close handheld scanning and a simple code. Check that the code and its quiet zone fit clearly within the sticker. |
| 2" × 2" | Product packaging, takeaway items or small displays | A flexible option for close-range use where customers can bring their phone near the sticker. |
| 3" × 3" | Countertop displays, packaging or service areas | Allows more room for a visible code, quiet zone and short instruction such as “Scan for the menu.” |
| 4" × 4" | Doors, counters or indoor signs | Consider this when customers may scan from farther away or the location has challenging lighting. |
| 5" × 5" | Storefronts, service areas or larger packages | More visible at a distance, provided the code remains clear and the placement is suitable. |
| 6" × 6" | Larger displays or small vehicle stickers | Useful when the code needs to be prominent. Test at the actual viewing distance and angle. |
The size listed is the overall sticker size, not the QR code’s dimensions. Keep the quiet zone inside the available space. A compact 1" sticker may be suitable for a simple code scanned close up, but it leaves less room for the code, quiet zone and any supporting message. If scanning reliability matters, test the final layout before ordering a larger batch.
Matte or glossy: consider the light
A code can be printed clearly and still be harder to scan if light reflects across it. Restaurant lighting, shop fixtures, windows and outdoor glare may create reflections on a glossy surface.
A matte finish can reduce glare, which is why it’s worth considering for QR codes placed under bright or changing light. Glossy finishes can suit other designs, but check the location carefully. StickerPlanet.ca also offers glossy UV lamination, which adds protection; if you choose a glossy option, test for reflections in the intended setting.
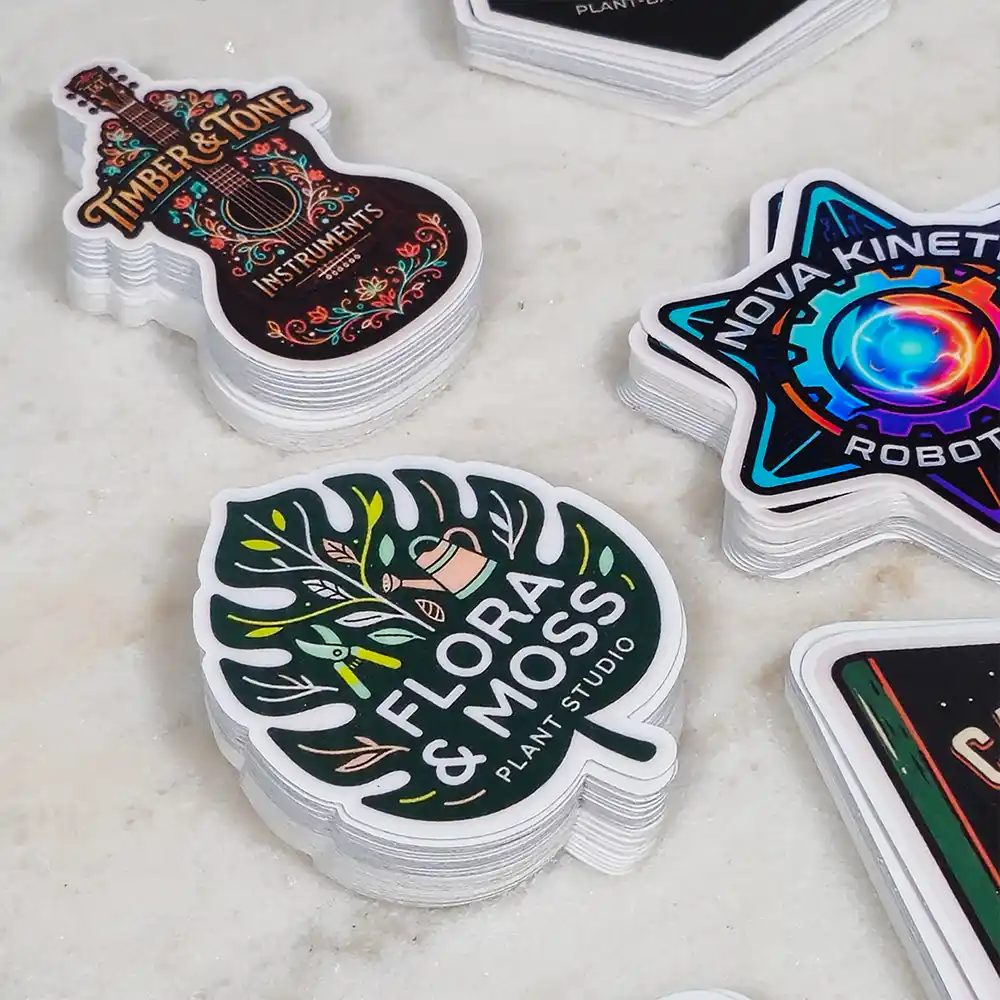
Holographic or reflective materials can create a distinctive look, but a shiny effect may compete with the code. For a QR sticker, keep the code on a plain, high-contrast area and test the finished material rather than relying on a screen preview.
Put the sticker where customers can use it
Choose a location where the sticker is visible, reachable and easy to scan without blocking normal activity. Common placements include:
- Restaurant tables or counters: Link to a menu, ordering page or feedback form.
- Doors and windows: Share hours, booking information or a landing page. Avoid placing the code where reflections or access make scanning awkward.
- Packaging and takeout bags: Connect customers to product details, instructions or your online store.
- Salons and gyms: Direct people to appointment booking, class schedules or membership information.
- Trade counters and service areas: Offer a quick route to contact details, quote requests or service information.
- Small vehicle stickers: Use only where the sticker can be viewed safely by someone who is not driving. Make the code large enough for the intended stationary viewing distance, and test it in the actual setting.
A short call to action helps customers understand why they should scan. Keep it brief, “View the menu” or “Book an appointment”, and leave the required quiet zone clear.
Test a batch before ordering hundreds
A QR code that scans on a computer screen may behave differently once printed, laminated and applied. Before placing a larger order, test the actual finished sticker.
- Scan the final artwork. Confirm the code opens the right page and that the destination works on a phone.
- Check the quiet zone. Make sure no text, border, design element or cut edge crowds the code.
- Test the printed sticker. Scan the actual material and finish you plan to order, not just a digital proof.
- Try representative phones. Test more than one phone if possible, using the types of devices your customers are likely to have.
- Test in the real location. Check from the intended distance, at the expected angle and under the lighting customers will encounter.
- Repeat after application. Make sure the sticker is flat and that the surface, reflections or nearby patterns do not interfere.
- Check the destination again. A code can scan properly but still lead to an outdated page or broken link.
If the code is difficult to scan, increase its size, simplify the design, improve contrast, choose a less reflective finish or move the sticker to a better location. Then test again. Do not assume a particular scan rate without testing your own use case.
Choose a material and cut style for the application
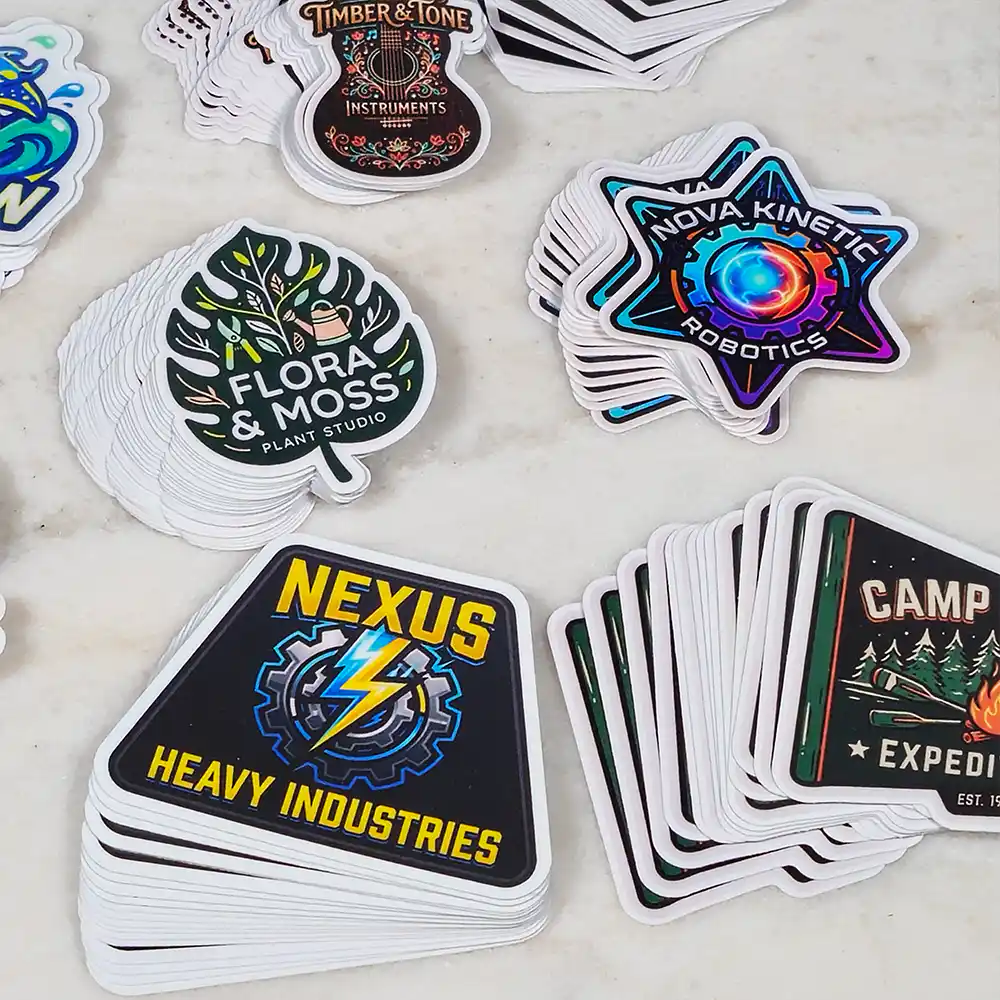
StickerPlanet.ca’s Promo Stickers Kiss/Die-Cut page offers custom sizing from 1" × 1" up to 6" × 6", full-colour printing and waterproof, fade-resistant stickers. Choose die-cut for a sticker cut to the outline of the design, or kiss-cut for a sticker cut through the top layer while remaining on its backing sheet.
Available material choices include Removable / Low Tack Vinyl, Repositionable Vinyl (opaque white), Permanent Vinyl, High Tack Vinyl (opaque white), Static Cling, Silicone Back PET Film, Holographic Vinyl and Reflective Vinyl. The page also offers no lamination, Glossy, Matte, Glossy UV and Holographic Glitter finishes. White and Clear vinyl are available.
Promotional pricing and Canadian shipping
The page advertises the following options:
| Quantity and size | Price |
|---|---|
| 330 stickers, 1" × 1" | $29 |
| 100 stickers, 2" × 2" | $29 |
| 100 stickers, 3" × 3" | $49 |
| 100 stickers, 4" × 4" | $69 |
| 100 stickers, 5" × 5" | $99 |
| 100 stickers, 6" × 6" | $119 |
Orders can be placed in quantities from 5 to 10,000, with the best value noted at 50, 100 and 200 stickers. Canadian printing and shipping are handled in-house, and shipping within Canada is free. Review the product page for current options and pricing before ordering.
Ready to make a QR code sticker?
Start with a clear destination, a high-contrast code and enough space for a clean quiet zone. Choose the sticker size and finish for the real placement, then test a finished sample before committing to a larger quantity.
Explore custom Promo Stickers Kiss/Die-Cut and create QR code stickers for your business, packaging or promotional materials.